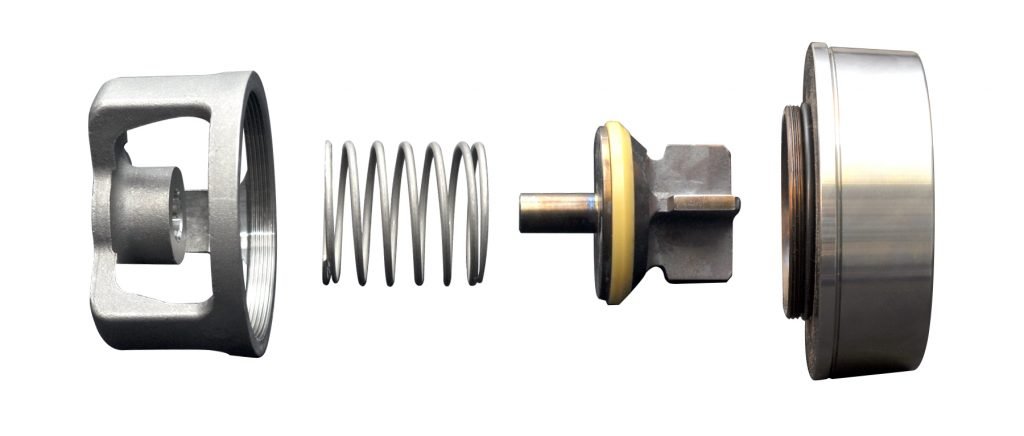
Resista® Abrasion Resistant (AR) Valve Installation
Since Resista® AR valves endure some of the heaviest wear in pumping environments containing abrasive media and small solids under high pressure, the right fit and proper AR valve installation are essential to attain optimal pump valve life.

The following steps ensure safe and proper AR valve installation:
- Before beginning any part of the installation, make yourself aware of all federal and state safety and environmental regulations.
- Safety is of the utmost importance. The pump’s power source should be completely turned off, locked out, and tagged before starting.
- The pump ports must be clean and free of any foreign matter, rust, or corrosion. Be sure to clean and dry the tapered part of the valve seat as well.
- If the AR valve comes loosely assembled or unassembled, install all o-rings and lock rings.
- Place the valve seat inside the pump port and press down with the palm of your hand, making sure the seat is aligned straight and level in the port.
- If the valve comes fully assembled with the valve cage pre-tightened, place a short wood block – big enough to cover the entire seating diameter – on top of the seat.
- Tap the valve seat lightly with a hammer or mallet. Under no circumstances should you use a sledge or heavy blow of any kind directly on the seat. A properly fitting valve seat will be “home” with light tapping. Pump action will seat the unit precisely and firmly through equalized liquid pressure.
- From top to bottom, align the valve cage, spring, and valve member.
- After completing the installation, rotate the pump crankshaft by hand to make sure the plunger and packing are properly aligned without any obstructions.
For additional information about the installation of your Resista® abrasion resistant valve, please contact us.
Experiencing pumping issues and need help troubleshooting?