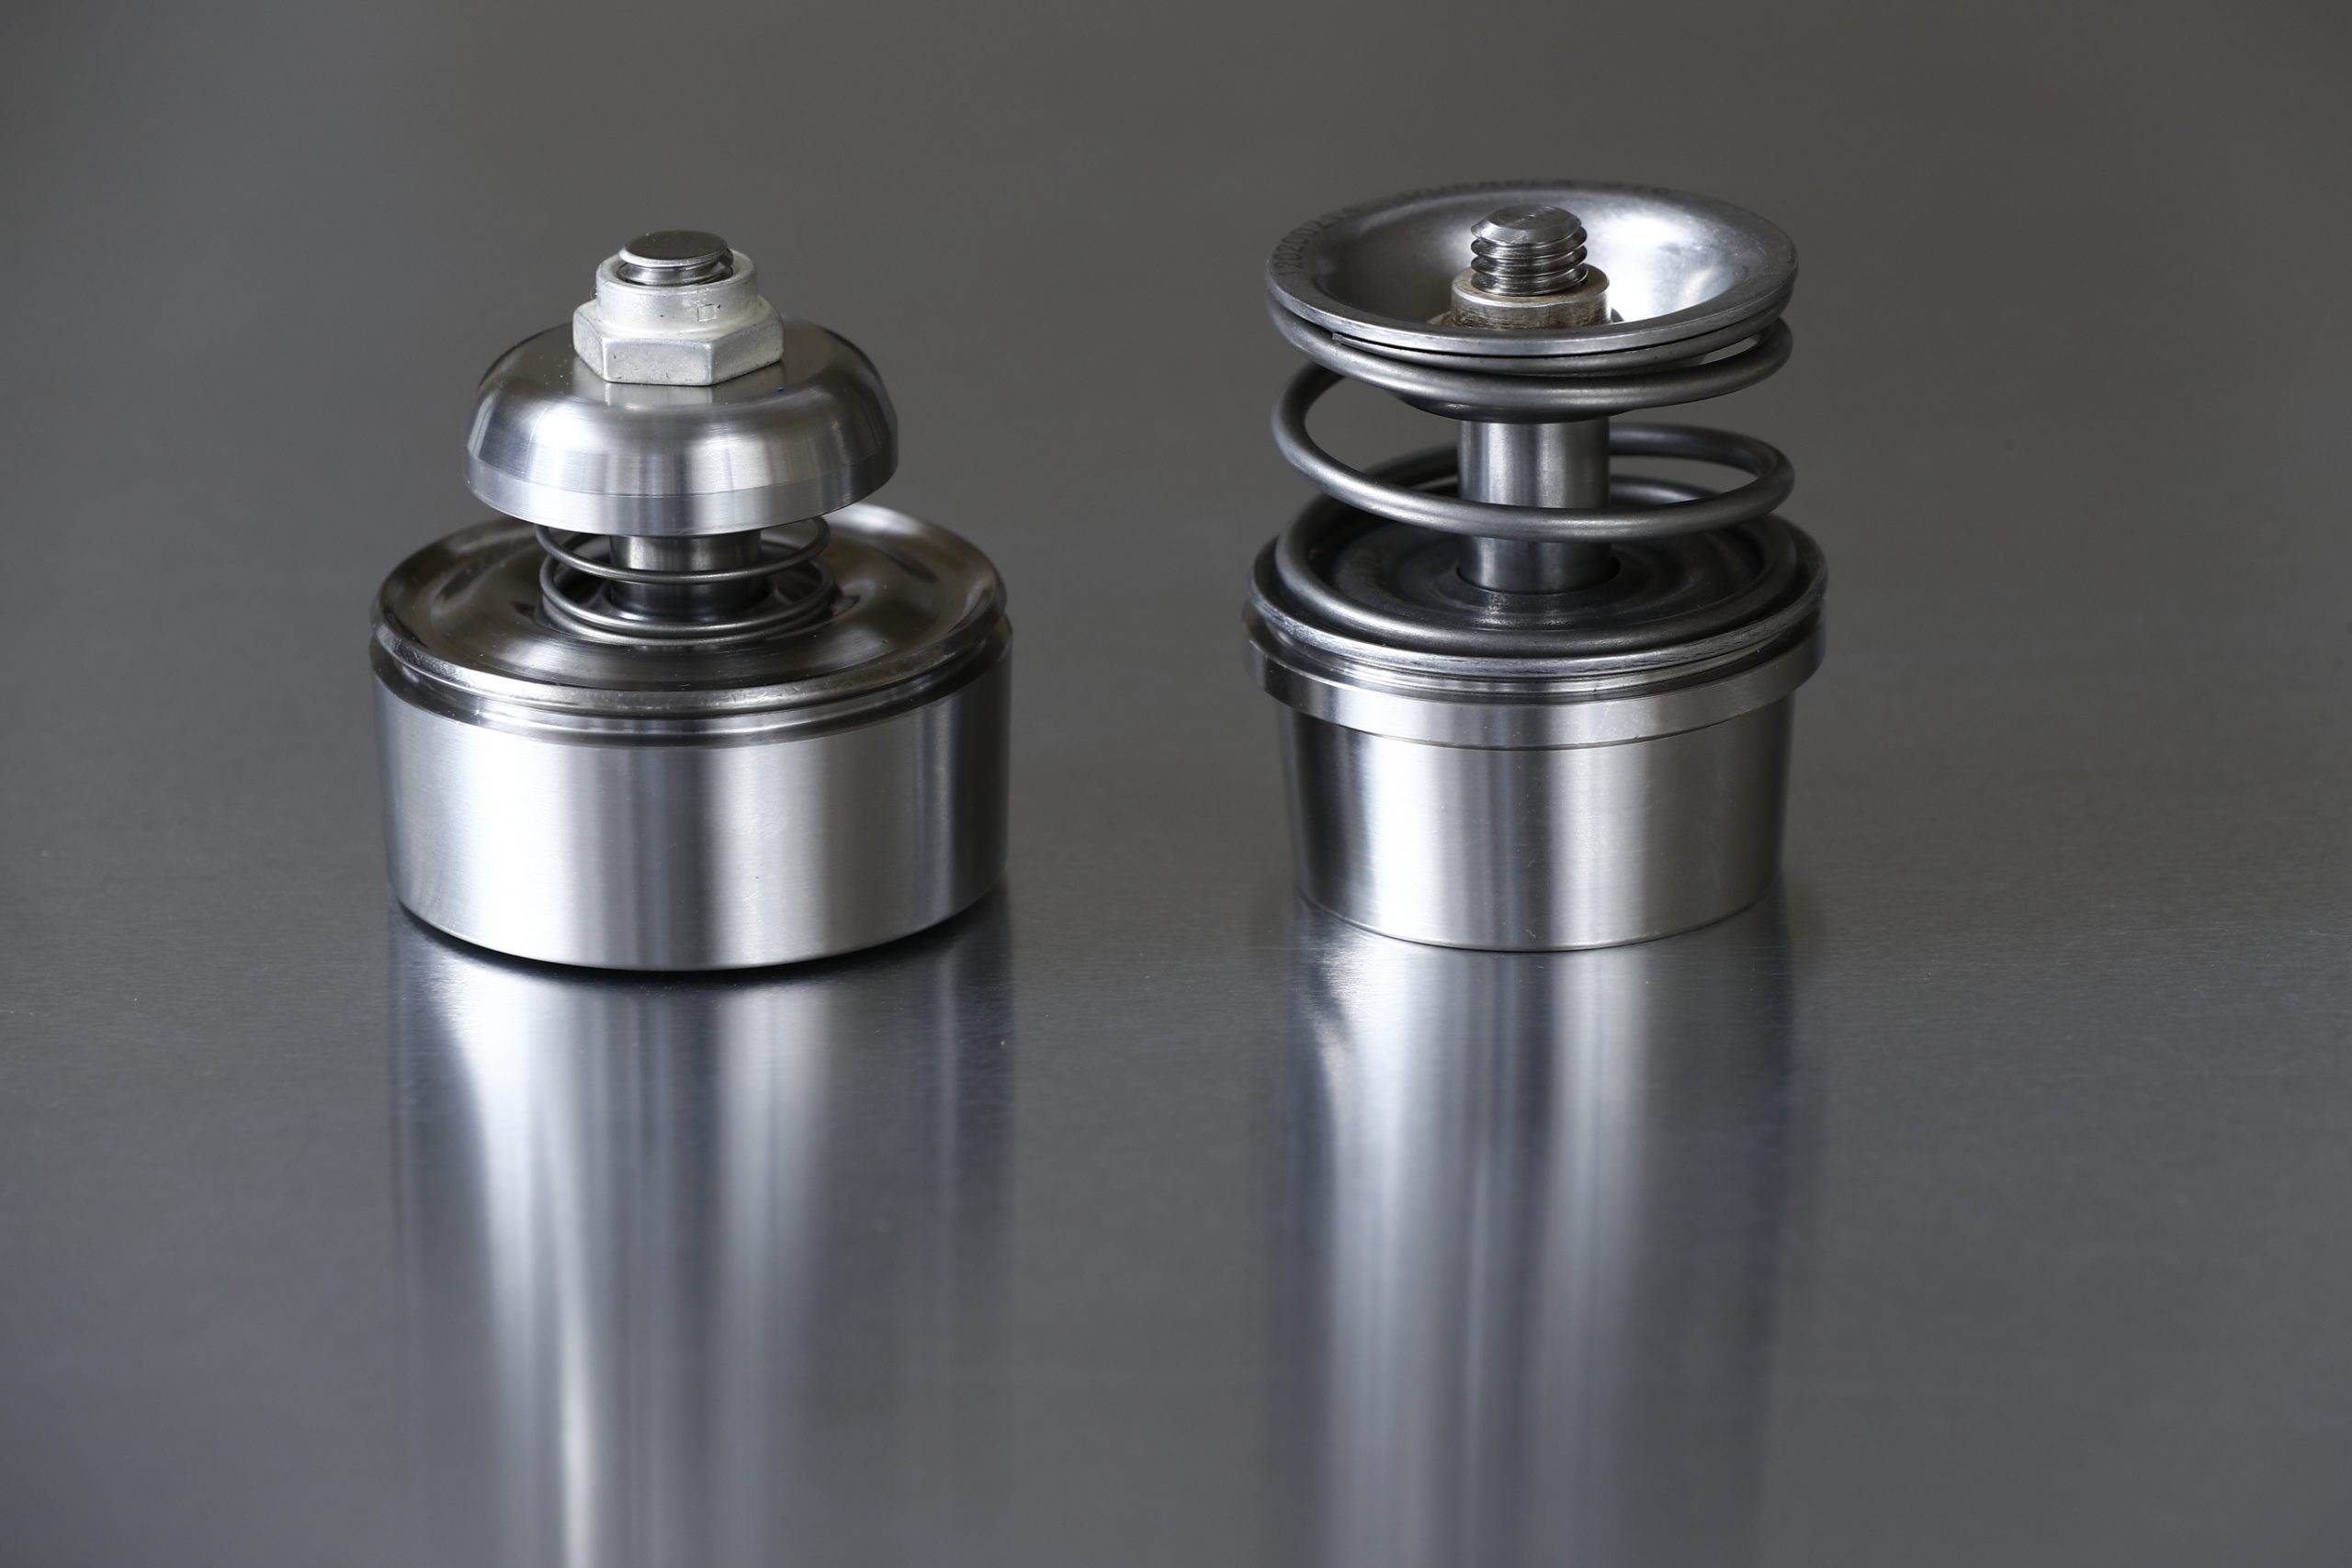
Durabla® Pump Valve Installation
Along with routine maintenance, following proper installation procedures will help ensure optimal valve longevity and performance. After ensuring compliance with all relevant state and federal safety and environmental regulations, it’s critical to make sure the pump’s power source is turned off, locked out, and tagged, and all pump ports are clear from corrosion and obstructions before beginning installation.
After matching the diameter and taper of the valve seat and pump port, a Durabla® pressing block or seat wrench should be used — never a sledge or any type of tool delivering a heavy blow — to ensure proper valve seat fit. Lifting the valve member should show that the valve disc has complete freedom, and the valve member should show zero obstructions.
Finally, users should ensure that there is enough clearance between the periphery of the valve disc member and the chamber walls; this will eliminate the risk of physical contact and provide enough area for liquid flow.
TPCI Company Vision
Although Durabla® valves are explicitly designed for long life spans, proper maintenance and regular inspections will help ensure optimal performance.
Normal wear is concentrated in the least expensive parts of these valves to allow for easy, cost-efficient replacements; replacing these parts — such as the sleeve, spring, valve disc, locknut, or bolt — when needed will eliminate the need for higher-cost, more extensive replacements down the line. During replacements, it’s important to reface the seat to eliminate the risk of ridges at the inner and outer edges of the valve seating surface.
And when reinstalling the seat, following the general installation instructions and tips discussed earlier will help ensure optimal performance.
